Sunday, June 27, 2010

How-To: Install/Remove New Style Shimano Cranks and Chainrings

In this how-to I am going to de-mystify the whole crank area of a new style Shimano equipped bike (excluding new 970 XTR, that is a whole different story). Being able to remove the cranks helps greatly with servicing the hard to reach areas around the bottom bracket (BB for short). You often need to remove the crank to be able to remove the small and middle chainrings in order to clean or replace them.
Even though I use my own 2 ring setup, most of what is done in this how-to is applicable to a typical Shimano 3 ring crank.

Tools needed for crank removal
-Rubber mallet
-5mm Allen wrench
-Shimano fixing bolt tool.


Step 1:
Inspect the area we are going to be working on. I actually just did a full service on my bike a few days ago but since it decided to rain today my bike collected a bunch of mud in the hard to reach areas of the Anthem X frame. Since I wanted to do this writeup anyway I thought it would be a good excuse to pop the cranks off and get the mud outta there.


Step 2:
Start by using your 5mm to loosen the non-drive-side pinch bolts. You want to alternate back and forth between loosening the bolts a few times so that you are relieving the pressure equally on both sides. Loosen the bolts to relieve all of the clamping force but you don’t have to remove them completely from the crankarm.

Alternate between the two bolts to relieve the pressure evenly


Step 3:
Loosen the plastic fixing bolt using the Shimano fixing bolt tool and turning counter clockwise. It should only be finger tight and easy to remove. If it is stuck then you might have to bust out the Vicegrips to get a firm hold on the Shimano tool to break the plastic bolt loose. Don’t damage the bolt as it is very much needed to reassemble the crank properly.


Step 4:
There is a small plastic shim with a pin sticking out the bottom. The pin slots into a hole on the crank axle as a last resort measure to keep the non-drive-side crank arm on the axle in case everything else comes loose. It pivots up and out of the way as illustrated in the photo. You will not be able to remove the crank without popping this shim up. You won’t be able to remove it completely, just pivot the one side up.


Step 5:
Now the non-drive-side crank arm is ready to be removed from the crank axle. You can wiggle it off or give it a few taps with the rubber mallet. I always make sure my rubber mallet is clean before I use it so that it doesn’t scratch any of my parts.

You can see what the axle looks like with the arm removed. You can also see the hole that the shim pin slotted into and why we had to pop it up. As you can see mine is already clean with fresh grease on the spline because I just did this. Yours might look different i.e. dirty/dry.

Step 6:
Now you can remove the drive side crank. Begin by tapping the end of the axle with the mallet.


Grasp the crank near the chainrings and start to wiggle it out. Pop the chain off the chainring down onto the axle.


Once you have the axle almost completely pulled out of the frame you might have to give the drive-side crank arm a little mallet tap to get it the rest of the way out.


Step 7:
Inspect your mess of a BB area. Don’t panic at this point. It is pretty easy to put this all back together correctly.


Bonus Points –> How-To Remove Chainrings
*No need to remove the chainrings? Skip to Step 14

You will require a few more tools for removing the chainrings and they really depend on your crank. Some have Allen key bolts and some have Torx bolts. Mine are Torx.
Tools needed:
-Allen key or Torx bits
-Chainring nut holding tool


Step 8:
Remove the small ring first.


Step 9:
Remove the big and middle ring. They usually share the same bolt, since mine is a 2 ring setup there is only one more ring to take off instead of 2. This is where you need the nut holder. Seems a shame that such a helpful tool be given such an awful name but hey it’s a dirty job and something has gotta do it. What this tool does is holds the chainring bolt nut so that it doesn’t spin when you try to loosen the chainring bolt. Comes with 2 different ends for 2 different types of nuts.
Now you know what that slot is for on the nut, not just a huge ass flathead screwdriver ;-) Takes some co-ordination to hold the nut tool and Torx wrench at the same time. Make sure to keep your knuckles away from the chainrings cause they are sharp!


Step 10:
Keep all your bits and pieces together in an organised fashion so you don’t forget where they all go and so you don’t lose anything. Clean it all up. Use either a rag or scrub with degreaser and a toothbrush (remember to rinse with water after using degreaser).


Clean :-)


Step 11:
Now you can start to reassemble. Put the big and middle rings back on. There is an orientation arrow on my rings, on Shimano rings there is usually a bump of some kind. You need to line this bump up with the crank arm so that all of the rings work together in harmony. For most big rings there is a pin that prevents the chain from getting jammed between the ring and the crank if the chain were to shift over the top of the big ring. That pin is the alignment indicator, line it up with the crank arm. Again on the middle ring you will see the bump or protrusion of metal or carbon on the inside of the ring. Line that up with the crankarm as well.


Step 12:
Finger tighten the middle/big-ring chainring bolts. Tighten bolts that are across from each other to evenly distribute the load (as illustrated in the 2nd photo). Use a 2 stage torque sequence meaning tighten the bolts to about 5Nm or 4 out of 10 first and then finish it off by tightening them to their final 11Nm or 8 out of 10. Lots of chainring bolts are soft alloy and are quite brittle so err on the side of caution tightening them. Some blue Loctite will reduce the required tightening torque. You may (probably) also need the chainring nut holder to keep the nuts from spinning while tightening.

Tightening pattern


Step 13:
Install the small ring. In the first picture you can see I have lined up the small ring orientation arrow with the crank arm. Torque it down the same as you did the big/middle ring bolts. You can also use blue Loctite here.

Torque it down


*Re-install cranks
Step 14:
Clean up that hard to reach BB area of the frame. I didn’t do a world class job here, I’ll save that for your bikes ;-)


Step 15:
Your cranks are now ready to be installed onto the bike. Using some general purpose bearing grease give the two smooth/shiny parts of the axle a light coating. These areas are what contact the BB so grease will reduce noise and potential wear.


Step 16:
Flip the chain up onto the crank axle and insert the spindle into the BB shell of the bike. You might need to tap with the mallet. Don’t push the spindle in all the way until you move the chain up onto the small ring so it doesn’t get pinched between the crank and bottom bracket potentially damaging it. Once the chain is on the small ring you can push or tap the crank into the frame the rest of the way.

Tap most of the way in but be careful not to pinch the chain between the frame and the crank.


Lift the chain up onto the chainring.


Tap the rest of the way in


Step 17:
On the non-drive side of the bike you will see the other side of the axle protruding. Use some more bearing grease on the spline.
Install the non-drive side crankarm onto the spline and push it on with your hands as far as it will go.
Push that little plastic shim/pin back down into place as well.


Step 18:
Install the plastic fixing bolt. This bolt is and important part of the system. It controls how much load the crank applies to the bottom bracket. Not tight enough and the cranks will have play back and forth. Too tight and the bottom bracket won’t spin freely and you will blow up the bearing pretty quick. Tighten it semi-firmly like you would a headset (once you tighten the pinch bolts a little you can spin the crank and see how it feels).


Step 19:
Tighten the pinch bolts slowly rotating back and forth between the two so that they are tightened equally. Final torque spec is around 12Nm. Be careful not to round out the bolts, it is easy to do. Give them a spin to see if you have the right bearing preload. Please ignore my messy front derailleur cable in the picture ;-)


That’s it you’re done. Admire your handy work and develop a new understanding of why I avoid mud.


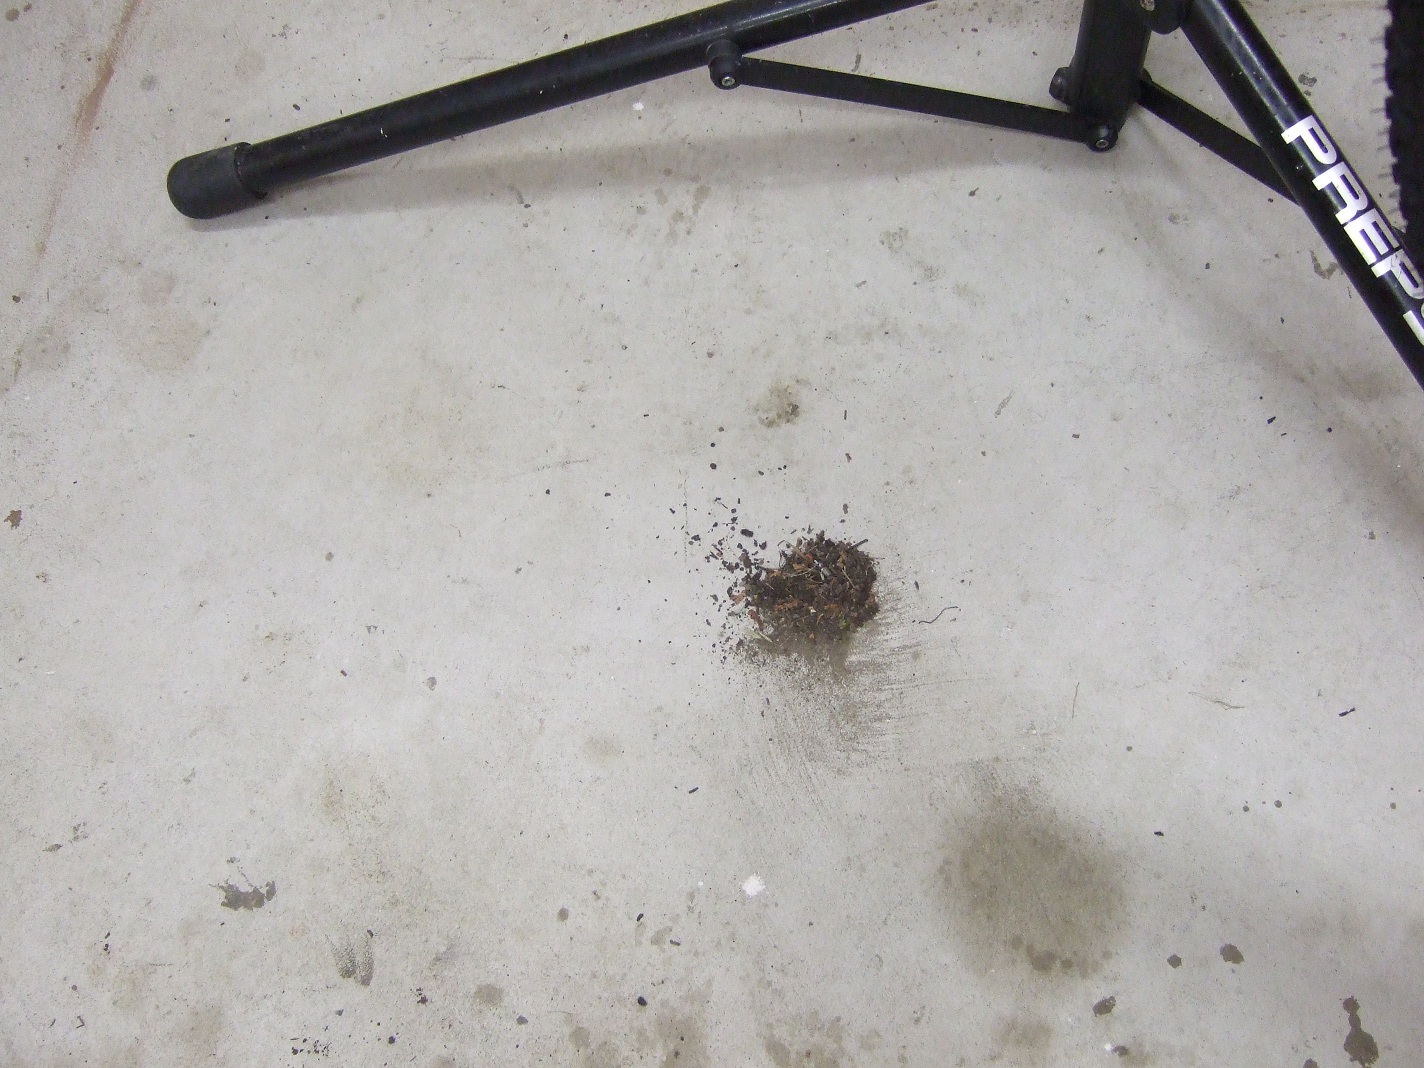
The pile of dirt that got cleaned off


That's all for this How-To. Let me know if you have any questions or comments.
Benno

Wednesday, June 23, 2010

Biking and bikes vs blogging about biking and bikes

Ok wow I realise it has been forEVER since I have updated on here. Lets just say I am much more passionate about working on bikes and biking than I am passionate about updating my blog so guess what wins my time.
What is new and exciting?? Ok yes I realise there were tornadoes and earthquakes today but what do you expect when you are floating on liquid hot magma hurtling through space at a gajillion miles per hour.
On the more interesting front I have a difficult decision ahead of me. No it is not the Pulsar GTi-R vs R32 Skyling GTS-t debate, that has been settled. Over the next couple of years I am going to be building up a bike. It has been something I have always wanted to do and feel I am ready to start the process. Obviously it is going to be a dually and obviously it is going to be a Giant. I am trying to decide between an Anthem X (100mm travel) and a Trance X (120mm travel). I am starting to lean more heavily towards the Trance X because I feel I can baby it a little bit more than I could an Anthem X. I am still going to keep the Anthem X-Ben but I think I will work away slowly on a Trance X on the side. I will keep you posted but it will be my Guinea pig bike to test out all sorts of fun bits. I will keep the Anthem X for most races and big training rides.
But this is just a thought, not completely decided yet. Again priority number 1 is getting my hands on an SR20DET equipped Nissan as soon as possible :-)


OOoooooooo yeah looking good for 2011
The next X-Ben project has been started.

On a side note, does anybody have a pooched SRAM XO derailleur I can buy? Bent, blown up, whatever, I need a few parts from it for R&D.

Stay thirsty my friends,

Benno

Monday, May 31, 2010

Race reports are lame. Here's mine


Ohh it was a good time this weekend at Hardwood. Had a bunch of transients staying on my floor for the race. Pretty convenient when you live 200 meters away from the start line. It was an amazing weekend weather wise. I'm sure you all remembered how crappy it was last year when it actually snowed for 5min at the start of our race.
Was hot hot heat and the course was pretty rough and tumble so I knew it would be hard to recover if I went too far into the red zone. Lucky for me it wasn't really much of an option since I really haven't been training fo real since I got back from down South. I had no power anyways. I started right at the back of the pack with my friend Cory. About 50m off the start there was a pretty big crash mid pack on my far left and we cruised right by. An easy way to make up 20 spots right off the start lol.
It was a slow start for our group. I think the fog of war (aka thick ass cloud of dust) limited our visibility to about 10 feet for the times you weren't blinded by watery eyes. Mouth felt like it was full of baking soda toothpaste. I made sure to hock out all of my spit in the first couple km's to avoid ingesting too much of that crap. The slow start made it easy to catch back up with the main group just in time for the traditional first singletrack slow down.
All in all it was a good time. I didn't have any wipeouts and I actually don't think I got passed once during the race. I had a late last lap surge going by the tech zone and managed to pass 4 more people before the finish line. Finished up mid pack in 34th which is probably much better than last year when I really sucked. Maybe in the next couple months I'll be able to get my top end speed back up to par with some training. My fitness and endurance is great cause I have still be riding quite a bit, just nothing structured. Hard not to ride given my surroundings. Anyways Mountainview this weekend should be fun. I DNF'd last year due to the heat so it should be easy to top that lol.
Later.
Nice dirt line post race

Tuesday, May 25, 2010

HSB is throwin' down.


Getting some good riding in at Hardwood Ski and Bike as always. Seems like I have been having trouble lately resisting the urge to hurl my body against the ground in a I-hope-nobody-saw-that-flail fashion. Luckily both times there were no witnesses and also both times my bike came out of it pretty much un-injured. I would say I too for the most part have come out un-injured given the serious potential of the crashes.
First one was on Friday. For some reason my pedal came unclipped just as I was cresting the steepest part of boneshaker. Thought I was going to be able to ride it out but just as I was reaching the steepest part my bike got spooked and tossed me upside-down onto a nice new patch of quick-crete. It's like landing on 2-grit sandpaper lol. That one got me pretty much all up the right side with a swollen ankle, wrist, and a bit of rash on my calf, hip, arm, and back. Again was lucky to get away with only superficial damage.
Today I was doing some tempo laps and my front wheel washed out on a steep downhill corner. It was one of those 20km/h launches where you have about 36 seconds of hang time in the air before gravity brings you back down to reality. In the interest of protecting my sore wrist I decided to break my fall with my face which worked really well. At this point I am glad I bought the Rudy Project sunglasses that were designed for S.W.A.T. to be impact resistant. Amazingly my helmet shows no damage but I think I should probably replace it to be safe. Got a bit of a shiner on my forehead and added to my raspberry collection on my knee and arm and hip. All in all a good day in the saddle.


The Canada Cup course is pretty tough and it is going to be a hard race. Laps are long and moderately technical with lots of climbing and very little rest. It is going to be a race of attrition with lots of people struggling on the later laps. Hopefully my fitness will make up for my lack of top end speed and I can come out of it in a decent position. It is already very slippery and dusty so if this heat and dryness keeps up it is going to be a really tough race. You know the ones where black dust sticks to your whole body and lungs and nostrils and you cross the finish line looking like an 80 year old coal miner.
Should be fun as always!
Benoit

Wednesday, May 19, 2010

Carolina guided tour info

New tour format.

Put the mountain in mountain biking. Come spend a week with me in beautiful South Carolina. In the spirit of affordability I have come up with a good solution to the traditional cycling tour.

What is provided:
-4 days of guided riding, create your own tour itinerary
-Accommodations for the week in the beautiful 5000 square foot house
-Training program guidelines and advice for your early season if required
-Full service by a trained bicycle mechanic, me
-Rides include beginner to advanced instruction when required
-Instructors are first aid certified - 2 coaches for groups over 5 people
-End of week BBQ and celebration on Friday

Arrive on the Saturday and stay till the next Saturday, a full week! Usually the best plan is to spend Sunday, Monday, Wednesday, Thursday on the bikes. Average ride is targeted for 4 hours. This is aimed at riders with a decent fitness base who are wanting to take their cycling and fitness to the next level. All options including coaching and instruction and even participation are just that, options. So if you feel tired that day and would rather do your own thing you are welcome to. Or if you just want to get in some amazing riding without all of the coaching and instruction well that's fine too. Come out and enjoy some of the finest cycling North America has to offer. It's no wonder why I am going back for my 7th year in a row! South and North Carolina feature epic ridge riding at Tsali, huge slick rock trails at Dupont, technically abundant riding at Pisgah, and super fast snaking singletrack at Issaqueena. On the asphalt you can experience long switchback mountain climbs, rolling twisty back roads, courteous drivers, and great pavement! Amazing vistas are absolutely awe inspiring and beautiful weather will put a smile on your face year after year. I will show you the best of the best.

What is not provided:
-Food
-Transportation
-Gear

Bring your own car and buy your own groceries. This keeps my overhead low which saves you hundreds of dollars and me a logistical nightmare. Convoy to the trailhead in your own vehicle.

The tour is now available on any of the 9 weeks. There will be a dozen or so different ride and lesson options to choose from. Create your own tour itinerary! Book early to have first choice of how you want your tour week to be organised. Different groupings include Road, Mountain, Beginner, Intermediate, Advanced, with lots of options for each. Mix 'n' match, do 1/2 road and 1/2 mountain, or 33.33% mountain and 66.66% road, or 1/4th road and 3/4ths mountain, or 100% road, or 100% mountain (percentages over 100% not available).

Pricing breakdown - Includes accommodation at The Palace
1-2 people = $450/person/week
3-5 people = $400/person/week
6-10 people = $350/person/week

Ride options: click on a ride for more info - more to come!

Mountain Biking options
Issaqueena Dam trails
DuPont State Forest trails
Pisgah National Forest - Black Mountain

Road Riding options
Caesar's Head

Lake Keowee house info

2011
February 26 - April 30
Click here for a suggested driving route.


What is the deal with this South Carolina house?
Every year I rent this big place in the Northwest of SC right at the base of the Appalachian mountains. It's big, it sleeps about 13 people very comfortably, is quite large, the property is right on a huge lake, and the house is big. We get folks from all over the place and at all different ability levels. There's the pro's like Derek Zandstra, the has beens bordering on never was like myself, the recreationals, the families, and the folks who don't even ride but appreciate the awesomeness of staying in a mansion down South by the mountains on a lake.
You are free to do your own thing while staying at the house. In fact you might not even notice I'm there unless you eat my peanut butter or make tons of noise at 6am.
Stay on your toes as the 2011 SC Easter bunny could strike at any time. The bunny is known for reducing even the hardest of core athletes to eating jelly beans and peanut butter eggs for breakfast.

House Info
Top Floor - 2 Bedrooms, one with a Queen and a Twin. The other with a Queen, full, and twin.
Main Floor - 3 Bedrooms. Master Bedroom has a King. 2 Bedrooms have Queens.
Walk out Basement - 2 Bedrooms. One with a Queen and a Twin. The other with a Queen, full, and twin.
-65" TV with Blu Ray in the main fireplace room. It is spectacular!
-Wireless internet
-LCD TV's with cable in each bedroom.
-Pool Table
-6 bathrooms, 7 showers
-Fully furnished rooms and kitchen
-big dining room table
-on the water with a nice dock and big deck
-bbq
-2 car garage for bikes with custom bike rack and lots of parking outside
-full central air conditioning (yes we've used it before)
-gas fireplace
-2 refrigerators
-2 laundry rooms with washers/dryers
-towels/sheets/pillows provided

The riding
Well this is really the best part of the whole experience. Hard to believe given all of the awesome stuff mentioned already. Besides the hundreds of miles of snaking, nicely paved roads you can also find about 100miles of really good singletrack within a 25min driving radius of the house. Explore into nearby North Carolina to find the Blue Ridge Mountains, Pisgah, Dupont, and Tsali. Take part in some of the SERC XC racing series or weekly police escorted club road rides in Greenville.
People tend to informally organise themselves in groups depending on what they feel like riding that day, their ability level, and whether or not they actually get out of bed in the a.m. hours of the day.

Weeks available - Updated regularly
Week 1: Feb 26 - March 5
Week 2: March 5 - March 12 (Booked up)
Week 3: March 12 - March 19 (Booked up)
Week 4: March 19 - March 26 ( Booked up )
Week 5: March 26 - April 2 ( Booked up )
Week 6: April 2 - April 9 ( Booked up)
Week 7: April 9 - April 16 ( Booked up )
Week 8: April 16 - April 23 (2 spots left)
Week 9: April 23 - April 30


You must book by the week in whole weeks. Arrive any time on the Saturday of your week and leave up to any time the Saturday of your departure week.

No pricing change for 2011!! Yes I am that awesome. Only thing that has changed is the deadline to get the cheapest price, it has been bumped to January 1st. Pre-booking is very helpful to me and deserves to be rewarded :-)

Pricing before January 1st
$160/person/week
$200/couple/week

Pricing after January 1st
$180/person/week
$220/couple/week

How to book your stay:
Email, call, or text me with the weeks you want to stay. Please reference the week number instead of saying "last week of March" since that could potentially mean 2 different weeks. For each single or couple that are booking there is a $50 deposit for each week being booked. So if you want to stay as a single or couple for weeks 3 and 4 then $100 is due at the time of booking in order to hold your spot. Remaining balance is due February 1st or before.

*Small print* Deposit is 100% refundable until February 1st, 2011. After February 1st the total balance is paid and is non-refundable after February 15th ,2011. Any money paid including deposit and balance are 100% refundable until February 14th, 2011.

Ben Dawson
mmmbenno@yahoo.com
cell: 705 229 6923


Misc Photo's - Send me yours if you want to share.


What better way to spend an afternoon?Driving these roads is 1/2 the fun!
Derek replenishes his vitamin D
Heading out to the trails
Me and Andy ride up over Ceasar's Head on a perfect afternoon
A typical SC road
Stephan does the robot while applying sunscreen as Shirley and Scott, the home owners, take us out for a boat ride and tour.
Check out the Pickens flea market on Wednesday and Saturday mornings. My camera could only capture about 1/4 of what was there.
Trails at Issaqueena are some of my favourite.