How-To: Service hydraulic calipers and change pads
Ok so this is a really handy thing to know. Bicycle disc brakes
aren’t super complicated there are just a few extra things you need to learn to be able to service them properly yourself. This is one of the most regular services that I perform for people. There are a few reasons why:
- People are scared of working on hydraulic brakes
- People try and service their own brakes without understanding how they work
- Pretty much all mountain bikes over $1000 now come with hydraulic discs
- Disc brake calipers require regular maintenance to keep them operating properly
For this service I seriously recommend you stay within the parameters of the How-To. Brakes are one of those things that are sort of important to your health.

In this How-To I am going to show you how to clean and lubricate your calipers, reset your caliper pistons to “zero”, and install new disc brake pads. I will be illustrating this How-To on my Anthem X1 which has Avid Elixir R disc brakes. Your brakes may vary slightly but the procedure fundamentally stays the same.
Tools needed (pictured from left to right)
-clean container for small parts so you don’t lose them
-Allen keys
-general purpose bicycle bearing grease
-plastic tire lever
-your new brake pads (model specific)
-
Shimano mineral oil
-small clean rag
-small screwdriver

Step 1
Remove the wheel for the brake you will be servicing. It is easier to remove the back wheel if you shift down into your hardest cog first.

Step 2
Remove the safety clip from the end of the
securing pin and then loosen any securing pin that your brake might be using. For the Elixir it is an Allen bolt, some are slotted screw heads, some brakes have no securing pin at all.
*Be careful when trying to loosen the securing pin. It is really easy to strip the head of these bolts and turn this into a really big job*Store the pin in your clean container where you won’t lose it.

Step 3
Remove the old brake pads. For the Elixirs this is easy to do with just your fingers.
*Some brake pads like Avid Juicy’s or Hayes snap into place and do not require a securing pin. These pads are almost always harder to pull out and often require needle nose
pliers. Pull the tab on the pad towards the center of the caliper to pull the backing plate of the pad away from the piston. Then pull the pad out through the caliper slot, it will snap out of place.
The reason you pull the brake pad backing plate away from brake caliper piston is because the caliper piston will have a post
protruding from its center that helps to hold the pad in place. If you try to pull the pad out and it is stuck on the piston post then you could shear the post right off (been there, done that)*
Inspect the pads. Mine did not need to be changed but I have an example of some old pads that were definitely in need of replacing. As you can see all of the “meat” of the pad had been used up and it was pretty well worn down to the metal backing plate. Backing plate on brake rotor = death to rotor and not so good stopping.

These old pads are very worn. Time to replace.

Step 4
Inspect your caliper. See how on my caliper one piston sticks out quite a bit
further than the other. This service will address this issue and reset both pistons back into the caliper (zero)

Step 5
Clean up your caliper.
Obviously mine
isn’t too dirty but for the bad ones I like to use Finish Line Speed
Degreaser. It is acetone based and evaporates without leaving any residue.
Take your small clean rag and floss it through your caliper. It will be easy since the absence of pads makes the caliper opening much larger. Doing this gets rid of all your accumulated brake dust and other crud that might be hindering the operation of your brakes.

Step 6
Expose a piston.
So here’s the deal. Your hydraulic brake lever has a plunger that pushes the brake fluid when you squeeze the brake lever. This fluid is what pushes your pistons out and clamps your pads down on your rotor.
That part should be pretty obvious. However there is also a
reservoir of fluid located in the lever that can allow more brake fluid into the brake line via the flow port. This allows your caliper pistons to move further out as your pads wear but your brake lever will still feel the same when you pull it.
The good part about this is that your brake lever will (should) always have the same feel throughout the life of the pads. The bad part is that when you remove the old pads you need to manually push the pistons back into the caliper (zero) to accommodate the larger thickness of the new pads. Pushing your caliper pistons back into the caliper is easy to do because when the brake lever is not being pulled the small flow port that allows fluid to move in and out of the brake lever
reservoir is open for business.

We need to expose a piston so we can
service it. To do that start by holding one piston in place with your plastic tire lever. The plastic lever is good because it is a soft material and wont damage your caliper pistons. Many pistons are made of ceramic and are easy to chip, crack, break, damage if using a metal screwdriver.
While you are holding one piston in place, you need to squeeze the brake lever slowly to bring the other piston out of the caliper. Don’t go too far because it is possible to push the piston right out of the caliper and then you will need to bleed the brakes.
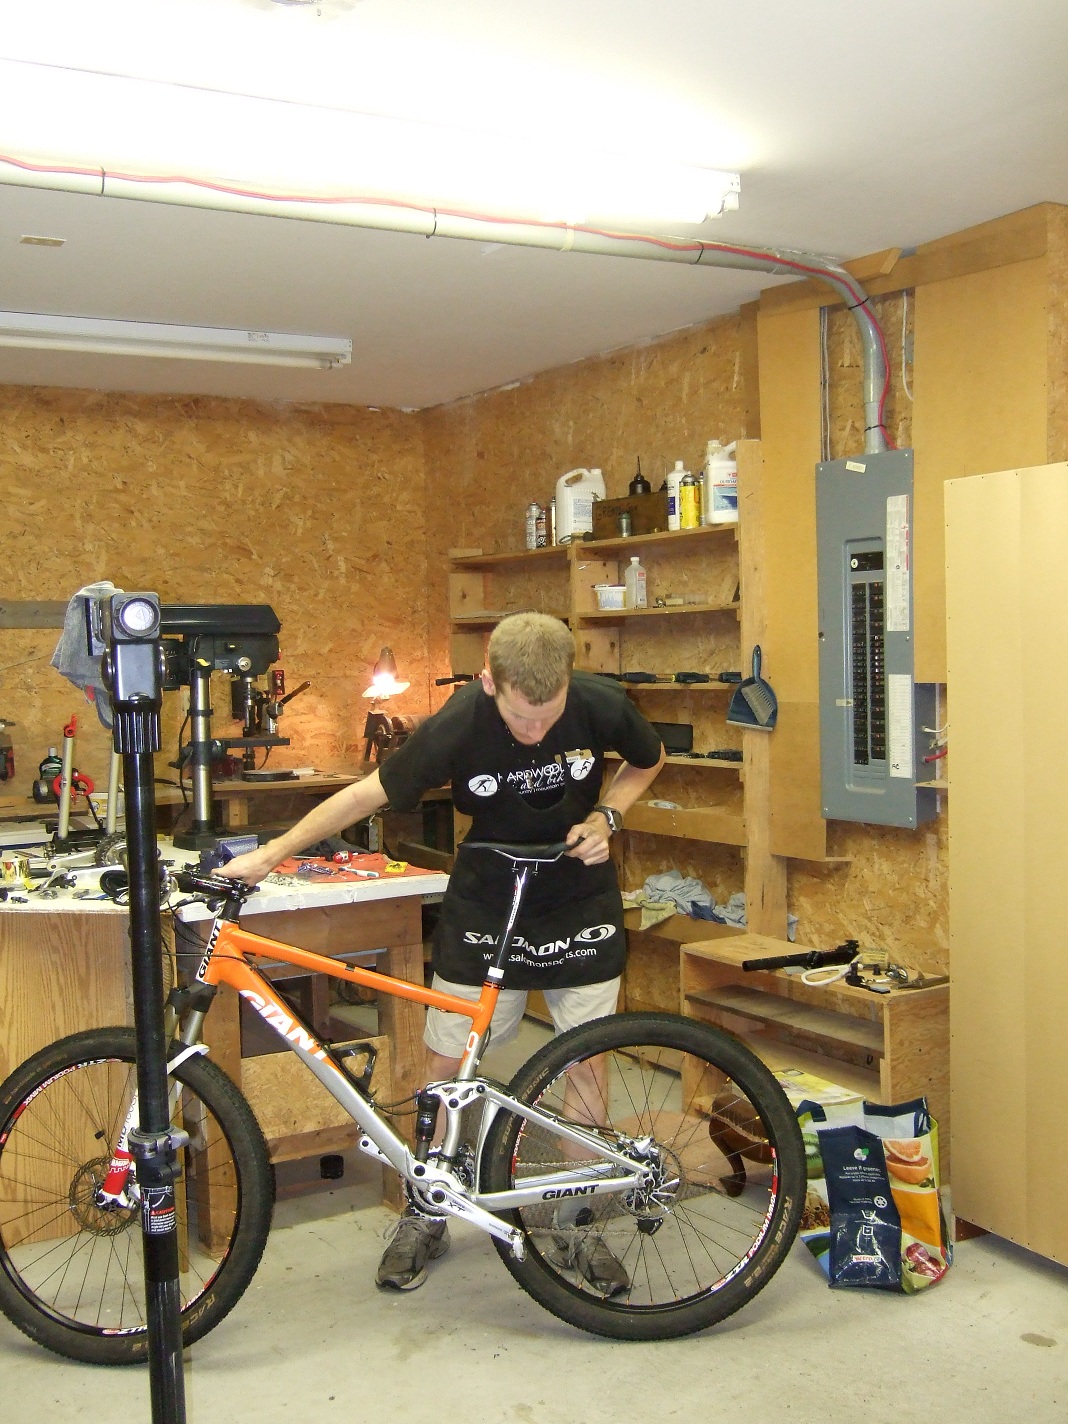
How I position myself as I do this service

Exposing a piston

Piston is now exposed

Step 7
Service the protruding piston.
Now all you gotta do is wipe the dirt from the piston walls with your clean rag and the screwdriver. Make sure the screwdriver
doesn’t poke through the rag and scratch your piston walls.

Step 8
Lube the protruding piston.
I like to use
Shimano mineral oil for this because it is a very neutral lubricating agent. I’m sure you could use DOT fluid for brakes that use DOT but mineral oil won’t attack your paint and is very non-toxic. I use it with great success.
Place 1-3 drops of mineral oil on the piston wall and let it bleed around the piston and cover its circumference. Using too much will just make more of a mess that you will have to clean up later before you put your pads back in.

You can now see the light oil coverage on the piston walls

Step 9
Get the piston lubed and moving freely.
You want to work the piston in and out of the caliper so that it gets well lubricated and moves relatively easily. First push the piston back in with your tire lever. Make sure to push on it squarely or it could get jammed in the caliper.
Hold the opposing piston in place like you did before and pump the brake lever to bring the same lubricated piston back out again. Repeat this 3 or 4 times to get the lubricated piston moving freely with reduced friction.
Push the piston back into the caliper

Now hold the opposite piston in place with the tire lever to bring the lubricated piston back out

Step 10
Clean up the excess mineral oil.
With the piston pushed all the way back into the caliper get your small clean rag (a fresh one if the first one you used got really dirty). Floss the rag through the caliper and get as much of the oil outta there as you can. You are now finished servicing this piston!

Step 11
Service the other piston.
Repeat steps 6 through 10 for the other piston to get it cleaned, lubricated, moving again, and pushed back into the caliper.
Now that both of your pistons have been serviced the main bulk of the work is done. On a typical caliper service it takes me about 5 minutes per brake (both pistons for front or back) to get to this point. So reading this How-To should take a lot longer than actually doing the service once you know what you are doing.
With both pistons lubed, moving freely, and pushed all the way back into the caliper we have achieved what I like to call “zeroing” the caliper.

Step 12
Prep for new pads.
To make sure that our pistons stay as centred as possible when we insert the rear wheel, you need to loosen the caliper bolts so that the caliper can move freely.

Step 13
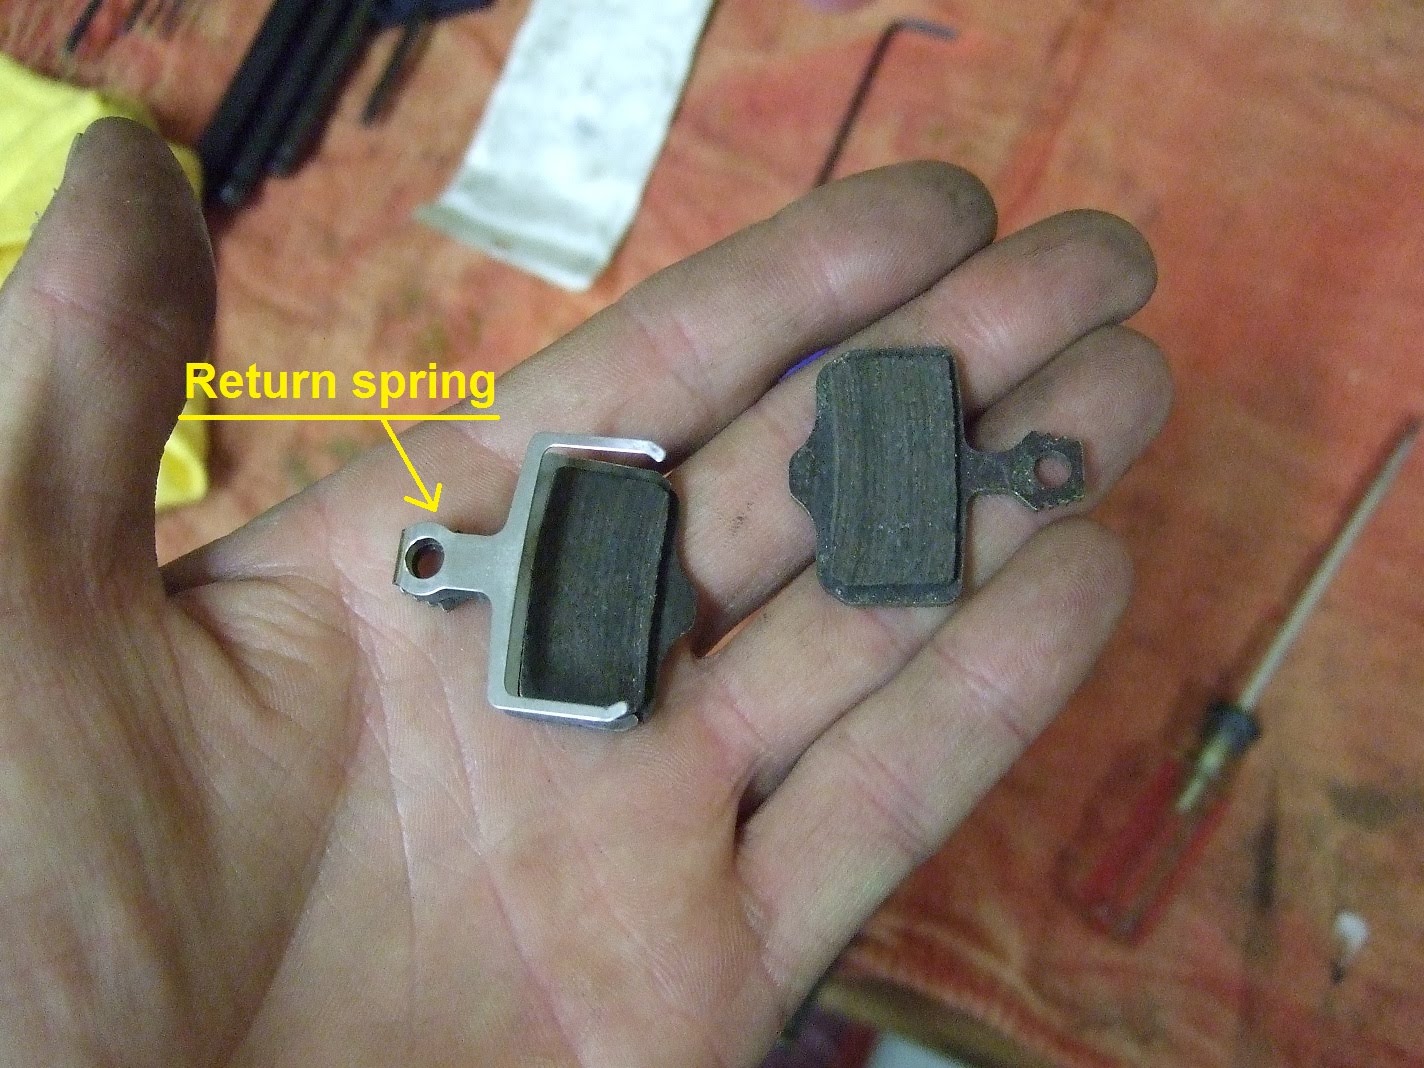
Install pads
You need to prep the pads by installing the return spring onto one side. Next bring the other pad onto the spring and pinch them together with your fingers to make sure the spring is in the correct place and allows the pads to close fully.
Slide the pads into place in the caliper. This might take a few attempts as you will find that sometimes the return spring can get dislodged. Take your time. If your pads snap into place like Juicy or Hayes then wiggle them as you push on them, make sure they go all the way into the caliper and they snap into place or they will just rattle and fall out while you are riding. The Elixirs,
Shimano, Formula, Hope, just slide into place. Push on them to make sure they are square.
Position the return spring onto one pad

Sandwich the pads to make sure the spring is in place

Slide the sandwiched pads into the caliper

Let go of the sandwich and push them squarely into place

Step 14
Lube that securing pin!
This is the last magic piece of the secret service-your-brakes-like-a-pro service. The little securing pin is often the source of creaky brakes. The pads slide back and forth on this pin and if it is dry then the caliper will creak when you pull the lever.
Take a
minuscule dab of bearing grease and roll the pin in your fingers to lightly lubricate the pin.

Just a very thin coat

Step 15
Install securing pin and pop the safety clip back onto the end of the pin. Don’t over torque this bolt. Remember what I said before, it is easy to strip the head of this bolt and that can be extra work you don’t want.

Step 16
Install your rear wheel. Do this on the ground with your body weight on the saddle to make sure your wheel is square in the dropouts.

Weight on the saddle as you close the lever to make sure the wheel is square in the frame

Step 17
Pump up your brake. Since our pistons are still pushed all the way back into our caliper we need to pump the brake lever 10 or 15 times to bring the pistons back out to where they are supposed to be and have a solid feeling lever. Remember since our caliper bolts are also loose it allows the pistons to float naturally into the position they want to be.
Step 18
Center your caliper. Step 19
Now is the perfect time to check any other bolts for that brake. Remember you don’t always have to turn a bolt to make sure it is tight. If a bolt is already tight you don’t want to over tighten it.

That’s it you are all done! Your brakes will reward you with long life and superior performance.

Stay tuned!
Benno


 As for the training it is going very well. I feel great and the early mornings are getting easier. I am just getting the base fitness up for when the snow falls and I can wax up the skis.